What you are going to learn in this tutorial
- Add sample diagrams to draw.io
- Select single or multiple shapes
- Modify, move and delete shapes
Introduction
Once you know how to create a draw.io diagram, and add draw.io diagrams to Confluence, the next step is to edit one! This section of the tutorials does not differ in terms of the different Confluence deployments (Cloud, Data Center and Server).
Note: There are minor differences between the Diagram editor and the Board editor interface, but the functionality is almost identical. Users should have no difficulty moving between the two editors.
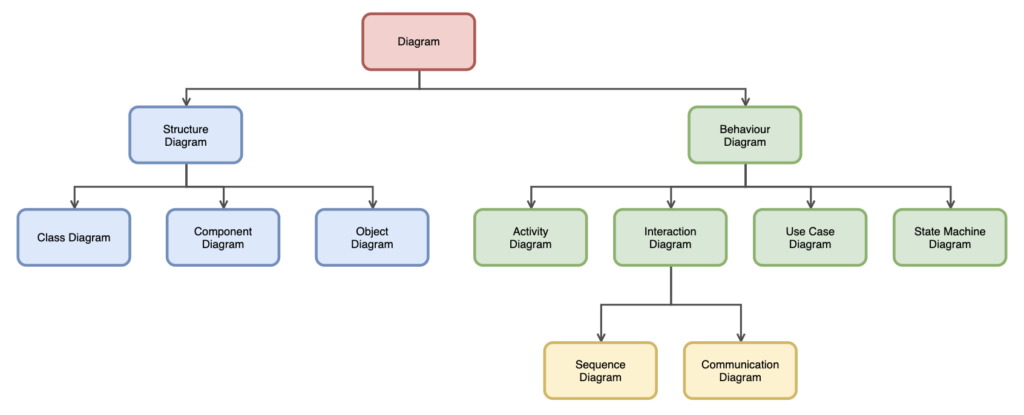
For this tutorial, please download our sample diagram beneath. This is what your draw.io diagram should look like after you have finished editing. You’ll use this diagram as the starting point for Exercise 3.
Tutorial
Selecting multiple objects
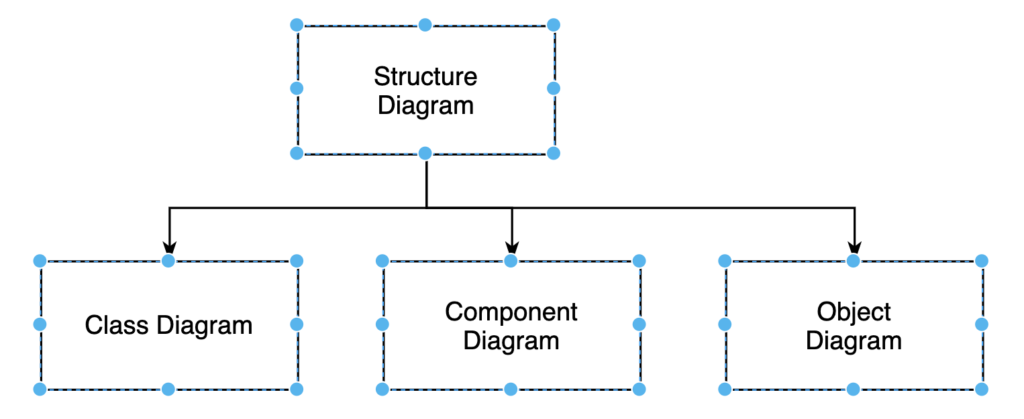
There are several ways you can select multiple objects. If the objects to be selected are close to each other, click and drag a frame around all of the objects with the mouse. You can also select several objects using the shortcuts: Ctrl / Cmd + click
Tip: It is important to start in an open area and drag the frame completely around each object you want to select.
Editing objects
You can edit shapes in the format panel on the right. There are several formatting options:
- Change the color.
- Add a gradient.
- Change the width, color and style of the line or remove it.
- Change the opacity.
- Edit the style of the shape (Rounded, Shadow, Glass, Sketch).
In our case, color the diagram according to our example above, set the Linewidth to 3 pt and choose the option Rounded for the selected shapes.
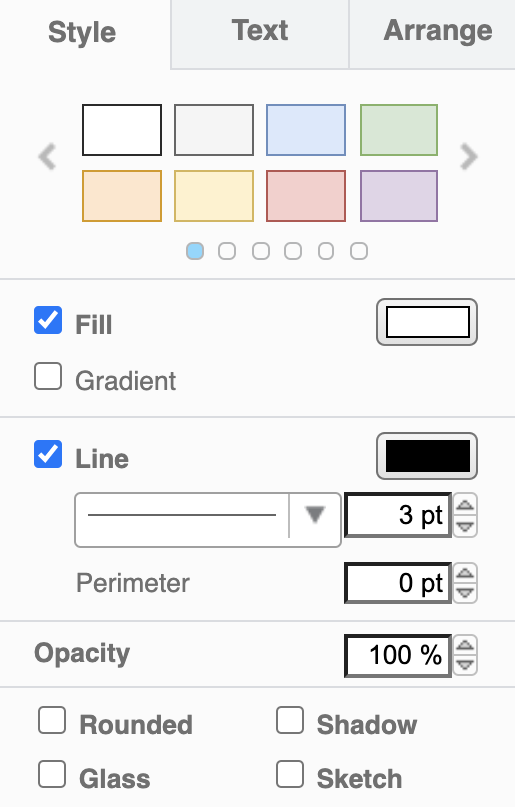
Diagram editor
Now that you changed the shapes you can also change the connectors. To do that, go to Edit > Select Edges to select only the connectors. Now we change the color to a dark grey, set the Linewidth to 2 pt, and select another Line end style.
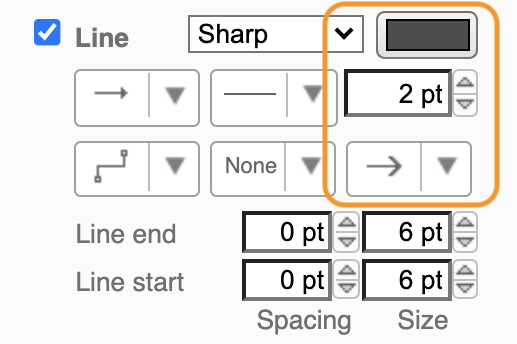
Diagram editor
Using the Board editor
The Board editor below offers the same functionality, using a slightly different layout.
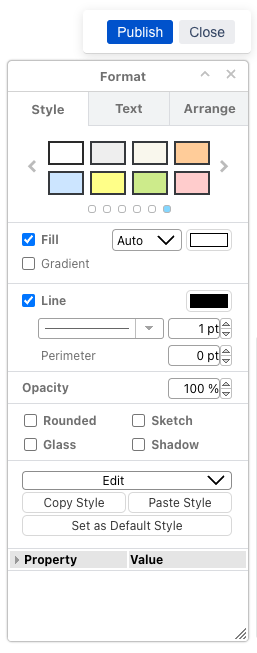
Shape editor
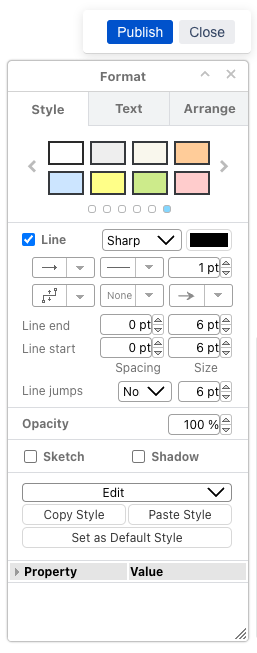
Connector line editor
Moving or deleting objects
To move objects, first select them, then drag them to their new location. In our case, select the two yellow rectangle shapes and reposition them, so they are centered beneath the parent shape.
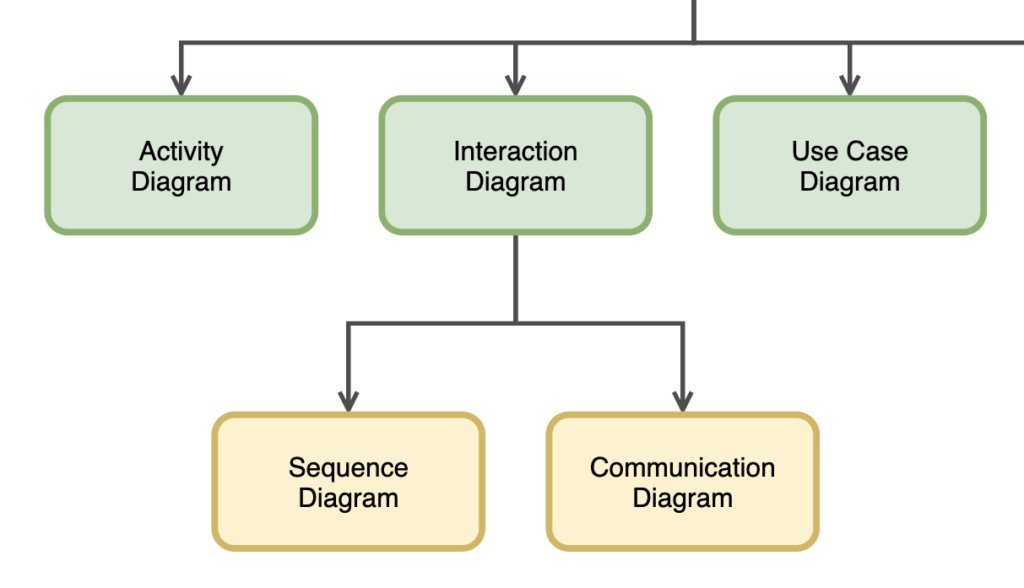
Now let us delete the three shapes on the lower right section of the diagram. You can easily remove selected objects using the Delete icon in the toolbar. This works for both single and multiple selected objects.
You can also delete objects by selecting the object(s), right click then select Delete (if you like to delete the shape with its connector, choose Cut instead) from the menu, or use the shortcut Ctrl+Delete (Cmd+Delete on a Mac).
In the next exercise in this basics training course, we’ll look at how to change the objects’ shapes, rotate, resize, and duplicate them.
Additional resources
- Use color schemes in draw.io
- A designer’s insight on draw.io
- How to create org charts in draw.io
- Folding and moving trees
Go to tutorial exercise 3: Changing the shapes in your diagram
Last Updated on November 24, 2022 by Admin

