
Many companies use Jira for task management: software development teams, business management, marketing teams, help desks, you name it – all departments can take advantage of Jira’s powerful features to coordinate their projects.
You can attach draw.io diagrams directly to the issues where they belong by using the draw.io app for Jira. This saves everyone’s time – you don’t have to go hunting in shared drives or your intranet, but simply work with diagrams directly in the issues.
draw.io for Jira is very affordable! More information about the draw.io for Jira pricing
Install draw.io for Jira
Your administrator can add draw.io for Jira easily from the Atlassian Marketplace.
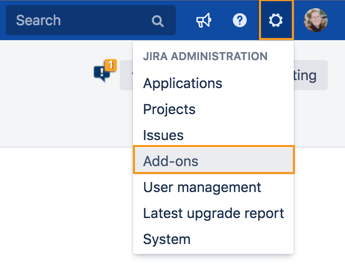
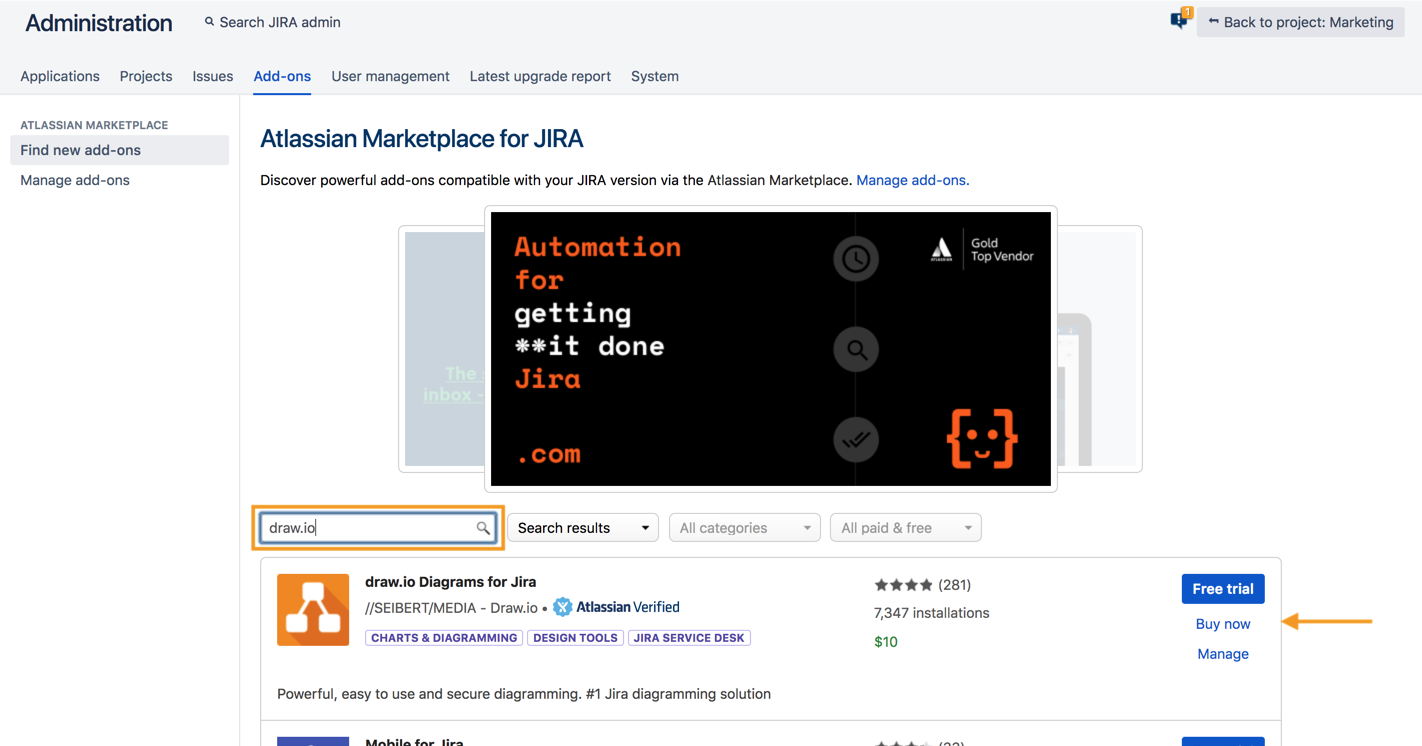
In your Jira instance, go to: Jira Administration > Add-ons in the menu. Type draw.io in the search field, then press Enter. draw.io for Jira will be the top app in the list. Click either Free trial (you’ll be redirected to MyAtlassian to get the trial license), or Buy now.
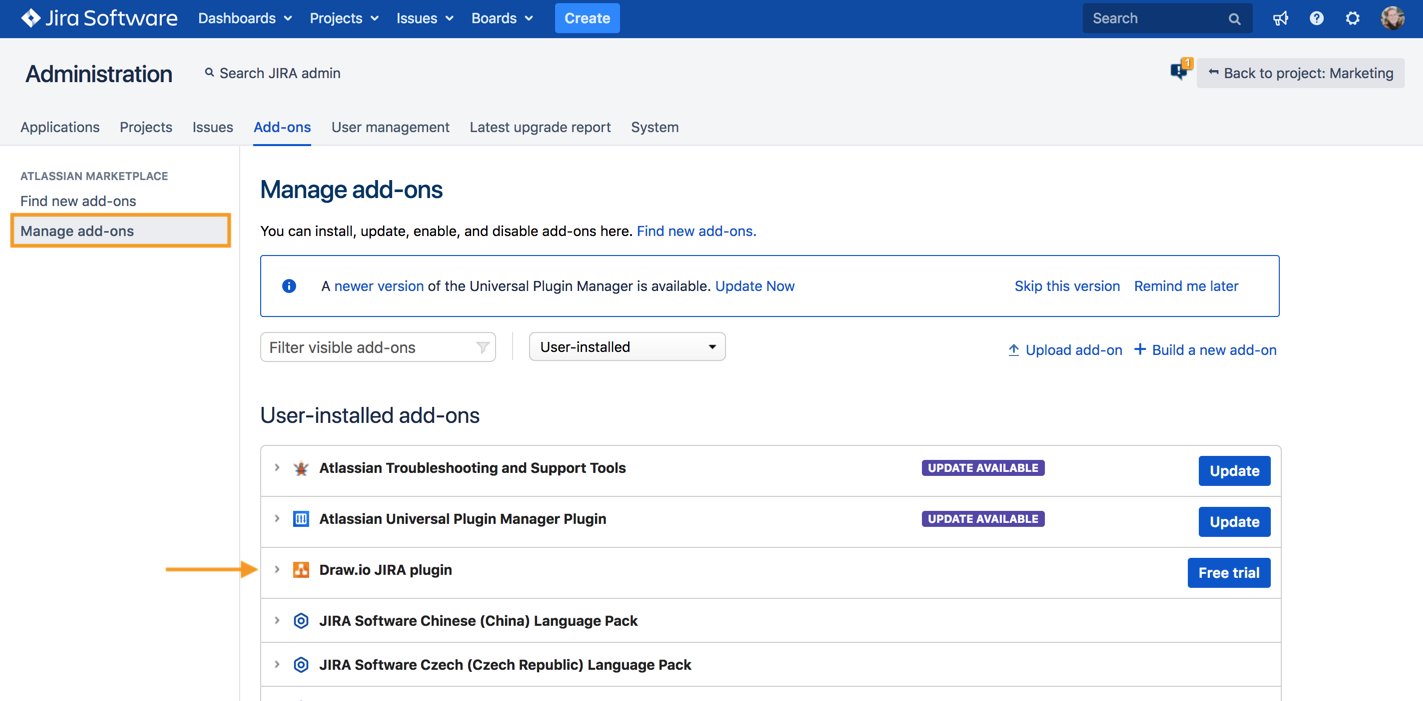
draw.io for Jira will be visible in the list of apps installed in your instance under Manage add-ons.
Important: You must make sure that your Jira users have the “Create attachment” permissions, otherwise they won’t be able to save their draw.io diagrams to the issue!
Working with draw.io diagrams and Jira issues
Once your administrator has added draw.io to your Jira instance, you can attach diagrams easily to your Jira issues. Any type of Jira issue can have a diagram attached to it, making it ideal for all teams that are managing their projects in Jira.
1. Add a diagram to an issue
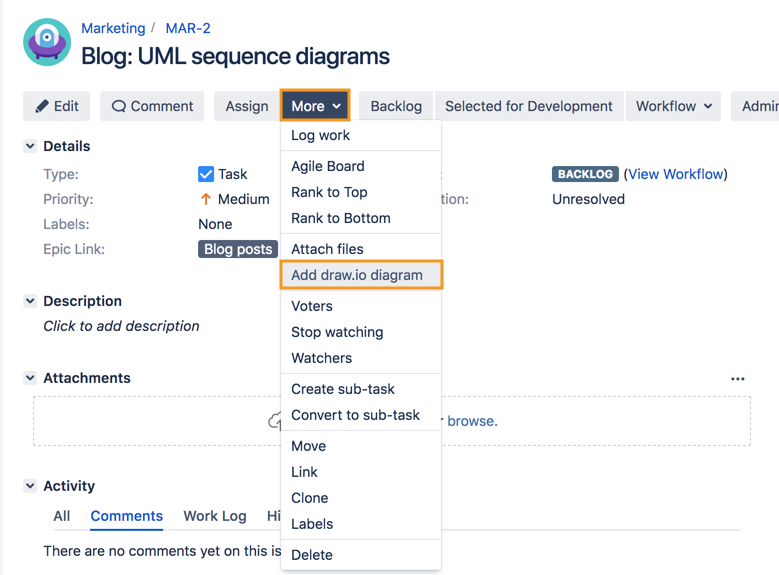
Open an issue, and click More > Add draw.io diagram.
2. Create your diagram
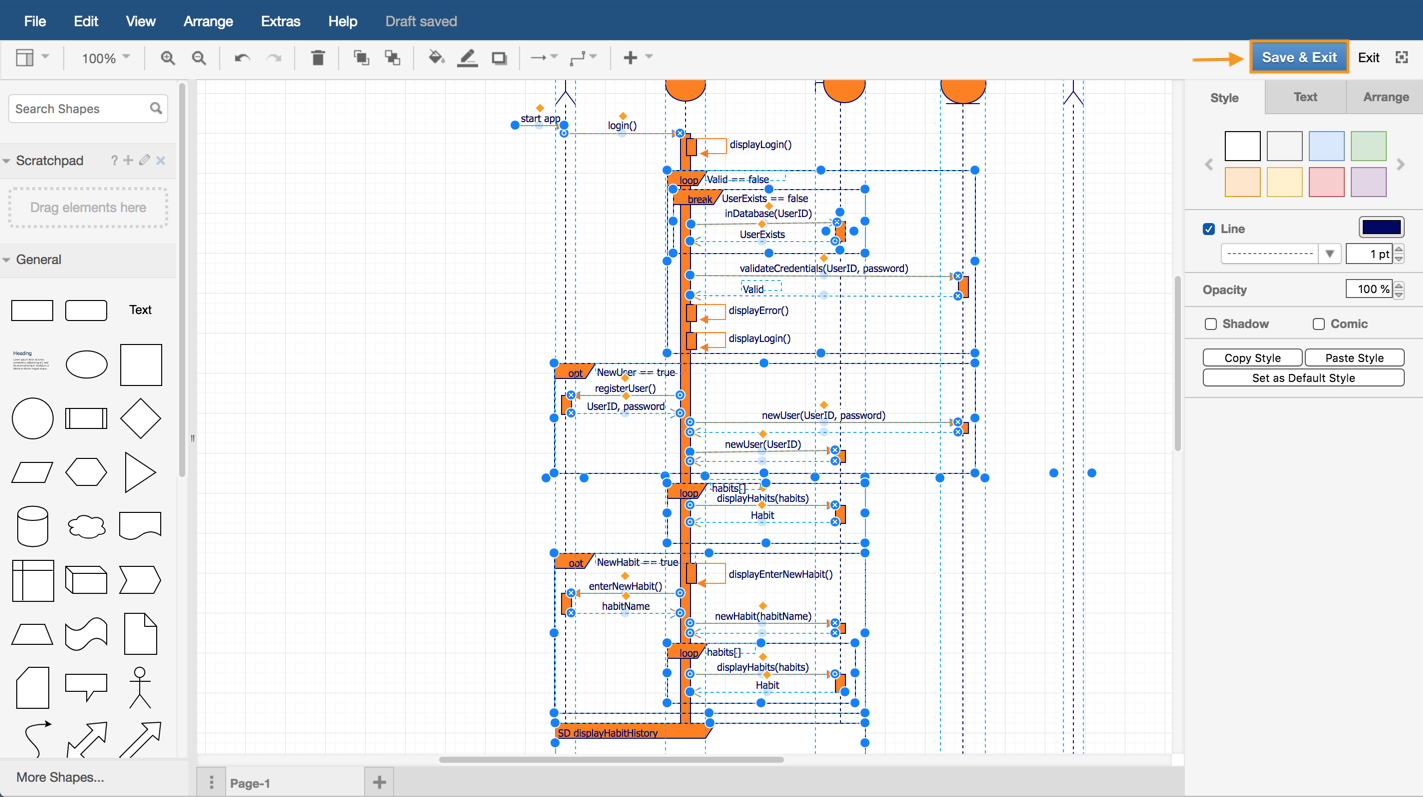
The familiar draw.io editor will open – you can create a new diagram from scratch, drag and drop an existing draw.io, Lucidchart, Gliffy or .vsdx diagram into the editor, or use the menus to import a diagram (File > Import).
You can use multiple pages in your diagram, and use custom libraries, just as you would in draw.io for Confluence. You can also export your diagram to various formats.
When you are finished, click Save & Exit. Enter a name for your diagram, then click Save.
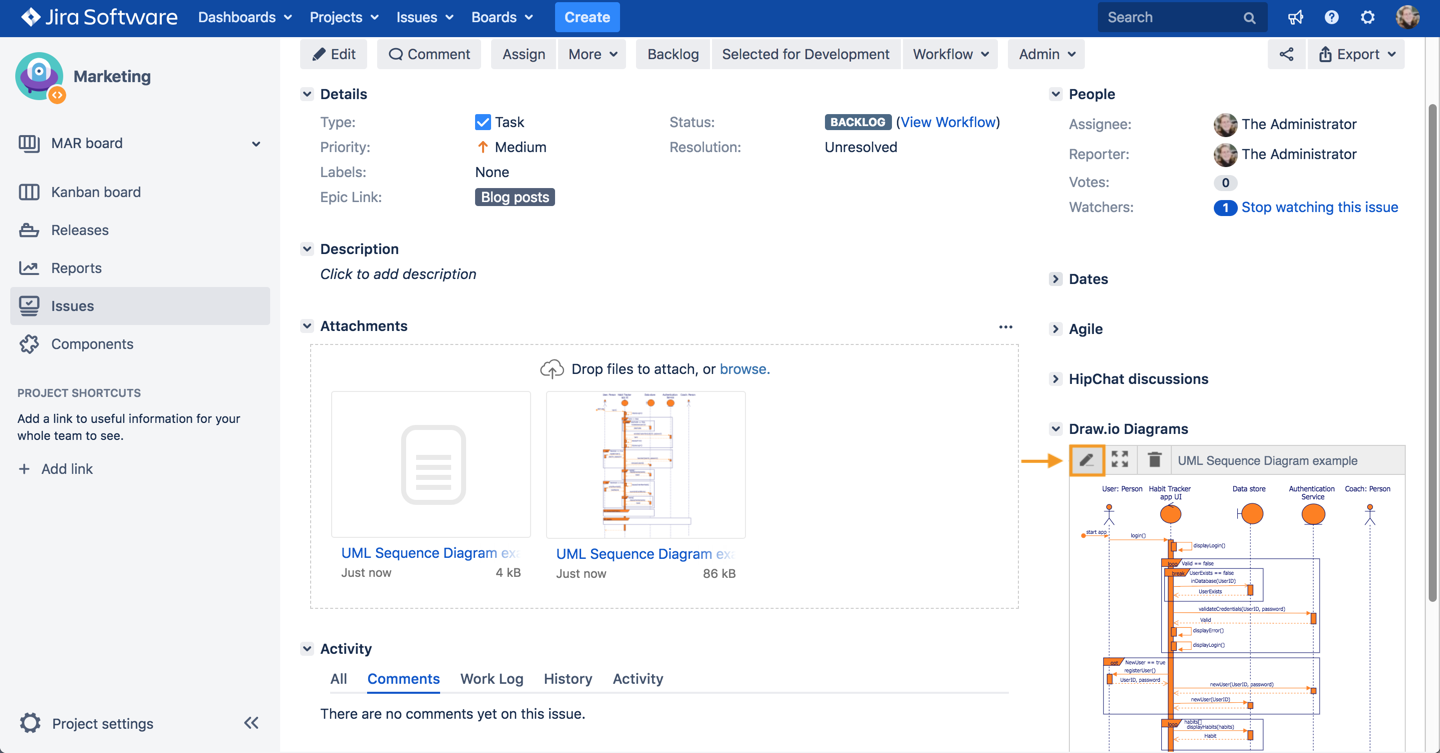
Your diagram will be added as a draw.io .xml file and a .png image file in the issue’s attachments. You can also see a thumbnail of your diagram in the right-hand column, under the Draw.io Diagrams section.
3. Edit an existing diagram attached to an issue
When you need to edit a diagram, hover over the diagram you want to change in the Draw.io Diagrams section, then click the Edit icon (the pencil) to open the diagram in the draw.io editor.
Want to see what we are working on next?
Not all features are available in draw.io for Jira (such as the various draw.io plugins) – yet! Our draw.io Trello boards outline our development focus for each of the integrations. Take a look at the draw.io Jira Server and draw.io Jira Cloud boards – if you have any feature wishes, please make suggestions! You can also vote for your favorite features there.
Last Updated on April 21, 2020 by Admin